- Phone
- +31 (0)318 53 17 17
- info@papicolor.nl
Blog: How to find and create a mystical creature in MyArtBook.

Introduction
I will give a short introduction of myself before I start with my creature tutorial. My name is Eva Toorenent (Evaboneva) and I am the finder and creator of weird and wonderful creatures. I find these strange critters all around me and I have documented them all my life. In this tutorial I am going to show you how I do it. Hopefully this tutorial inspires you to find your own curious creatures.
Some of these monsters I find are very similar to the animals we have in real life but something is mixed, different or just plain weird. It has been my mission to find these abnormalities and document them with my art.
I will take you through the process of finding, documenting and developing your monster design with MyArtBook from Papicolor.

Finding your creature. (supplies and drawing on location)
Materials
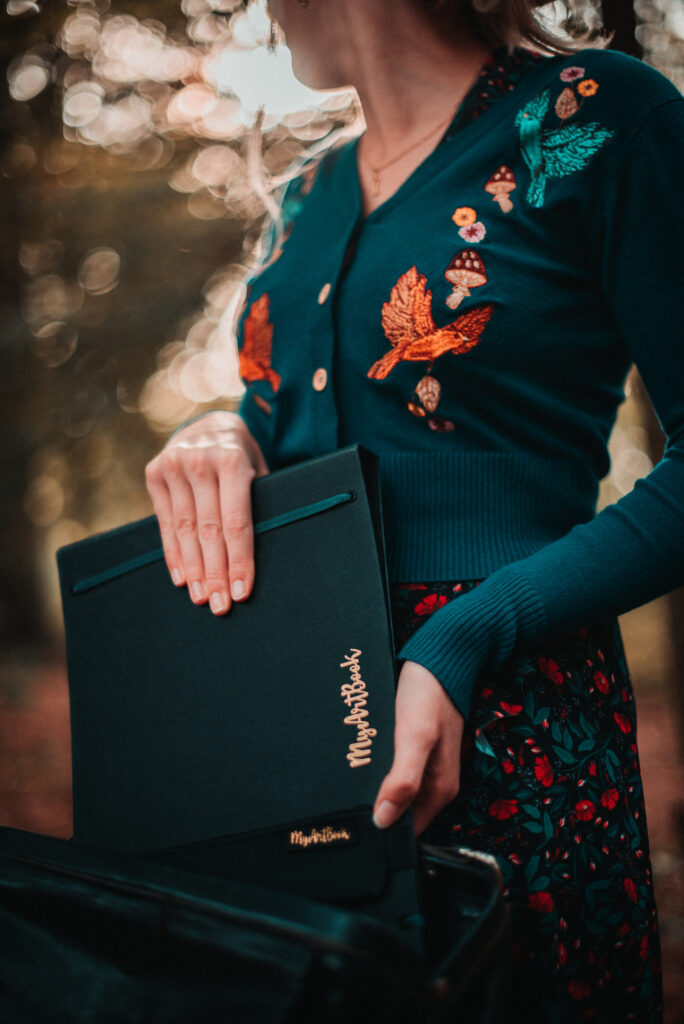
First, we have to find a creature. We want to travel light for the sake of our backs and to run if necessary (some creatures are not friendly). Due to the wonderful ability of my myartbook we can use different kind of papers and you can decide how many sheets you want to take with you, I have added only a few sheets or sketching paper for my trip. I use 160-gram sketch/drawing (ultra-smooth white) because it`s light and ideal for sketching.
I want to find a creature inside the forest for this tutorial. I will only bring a pencilpen and an eraser (the only things you really need). I will put these items in my MyArtBook etui and attach it to my sketchbook. This way I don`t have to bring my own heavy etui. When I have all the things, I need I pack them up in a cute bag and set of to the woods. Time to find some creatures!

Sketching
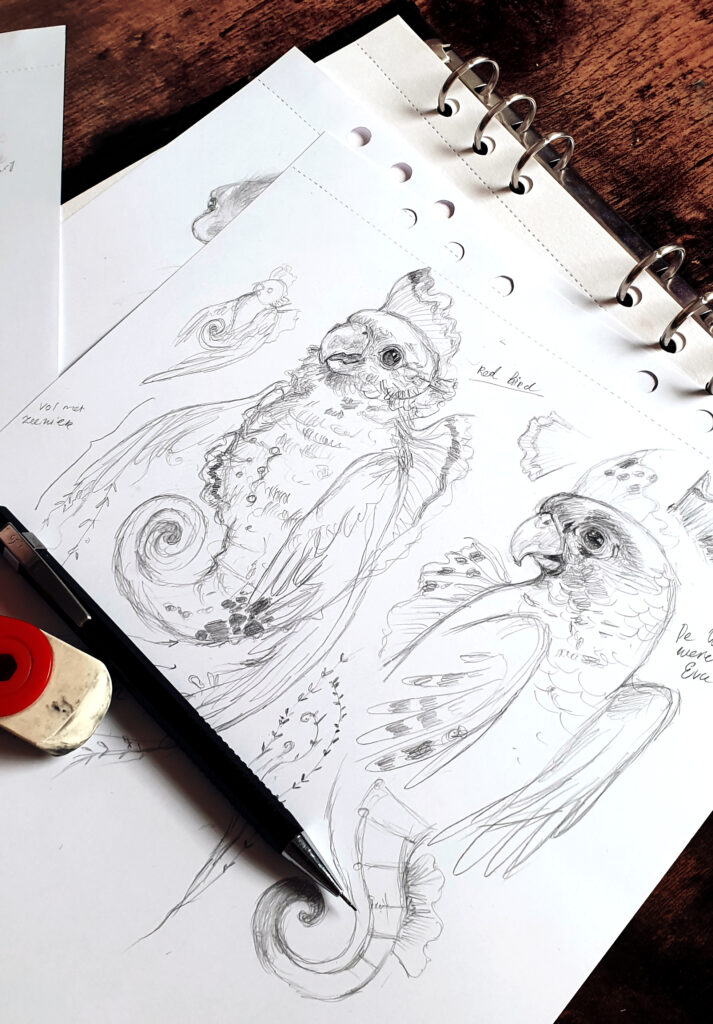
Then I will go searching for creatures. I do this as much in the wild as on the paper. It takes me around 3 pages of sketching paper to finally find a creature.
Let the outdoors inspire you with the different sounds, smells and textures of the forest. I try to find a place to sketch with almost no people. This way I won`t be bothered while sketching and the creatures tend to show themselves a bit more when there are not too many humans around. When I finally see one, I try to document the monster as best as I can before returning home.
Tip! When you are having trouble finding creatures try to look at old trees. You can often see strange creatures hiding under the bark. How older the tree how stranger the creatures.
You found a creature. What now?
Now that you have found your creature it is time to do some research and find some references. What is interesting about magical creatures is that they usually have a ton in common with real animals. I for example found a magical water bird while sketching. That is why, when I look for references, search for similar creatures that share the same attributes as my mystical bird. I look at the texture, skin, color and position of the references I am using. I usually make a collage/collection of these pictures in Photoshop. I use Pinterest and Google images to find my references.
When you are looking for references make sure that you don`t use to much from your reference. I mostly use real life pictures of animals and try to avoid using other people art as reference. If you use other people’s art a reference this can cause copy right issues (this also applies to some pictures). You can use other people`s art as reference but you have to be extremely careful by doing so. I usually make two different kind of photoshop files when I am creating a monster: an inspiration board and reference board.
In the inspiration board I like to throw in everything I find inspiring, Color pallets, certain poses, Art of artists I admire, certain object etc. There are not many rules when creating an inspiration board.
Try to use references but not to overuse them. Add your own style and twist to the picture.

Materials
Depending on what you want to create you can now choose your materials. My favorite paper is the 350-gram mixed media/watercolor (ultra-white) from MyArtBook. It is hard pressed has almost no texture on it which I adore. I like to create very detailed illustrations and hard-pressed paper without any texture is perfect for this.
For my material I choose watercolor and aquarelle pencils. I love the paper from MyArtBook because I am a dry watercolor painter and I can create my art without taping my paper to a surface (which you usually have to do to prevent the bobbling of the paper). You don`t have to tape anything because the great quality of the paper. I have yet to find anything that matches the same quality as the paper from Papicolor. If you are a wet watercolor painter, I do advice you tape your artwork to a flat surface, you can use MyArtBook for this as well.
Material list:
-MyArtbook A3 sketchbook
-MyArtbook A4 mixed media/watercolor (ultra white)
-3 different kind of brushed
-Aquarelle pencils (Caran d`ache) Supracolor soft
-Aquarelle pencils (Arteza)
-Waterbrush
-van Gogh watercolor paint set.
-clean water
Creating your creature (step by step)
Step 1
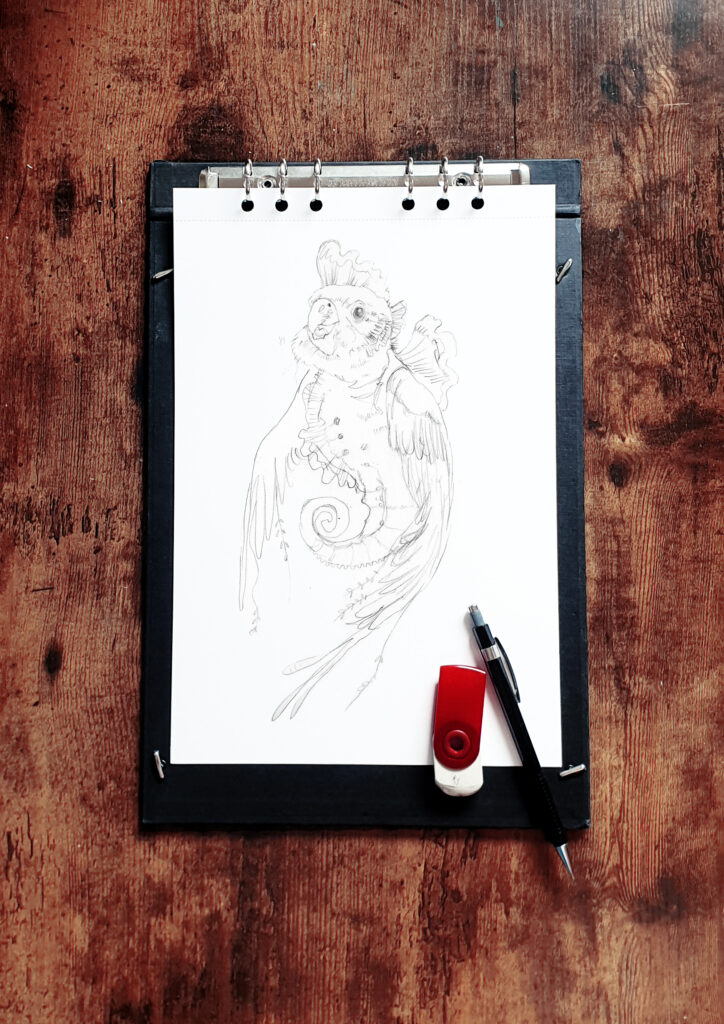
You have to transfer the sketch you made on the 160-gram sketch paper to 350-gram mixed media/watercolor paper. You can do this by just sketching it again. I usually don`t do this because I don`t want to overwork the paper. What I usually do is: scan the sketch in; make it the right size and trace from my computer screen in a dark room. In this stage you can also make a few adjustments in your sketch I for example made the wings longer and made adjustments to the head. MyArtBook is ideal for this method because you can just take out your piece of paper to trace and return it in the sketchbook when you are done.
Step 2
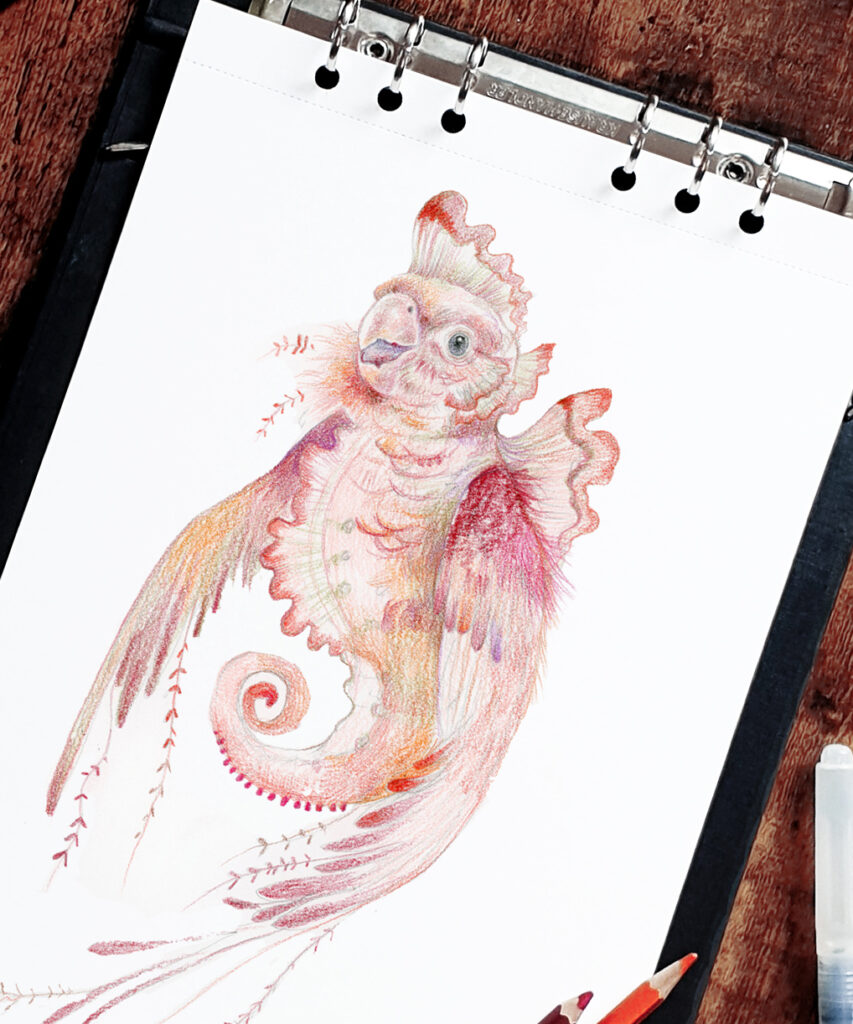
When you have put your sketch to paper you are ready for step 2: adding your first layer. For my first layer I use aquarelle pencils. I take the colors of aquarelle pencils I think I am going to need out of my pencil box. Making a color selection beforehand will ensure you work a lot faster and allows you to focus more on the illustration when you are drawing.
I will then add color to the drawing. Don`t worry if the colors are not exactly as you intend them to be. You will add 2 more layers before you have a finished product.
Tip! With the first layer of aquarelle pencils you have to be careful with black and white. I try to keep the things I want to keep white a white as possible (so not even using white aquarelle pencil). Keep all your white areas as clean as possible.
I only use black in one place: the eyes. If you use black more in your illustration this often leads to a dirty painting. I sometimes use black in very dark shadows but I try to avoid the color as much as possible. If you want to make dark areas try to use colors like: dark purple, dark green, dark brown etc.
Step 3
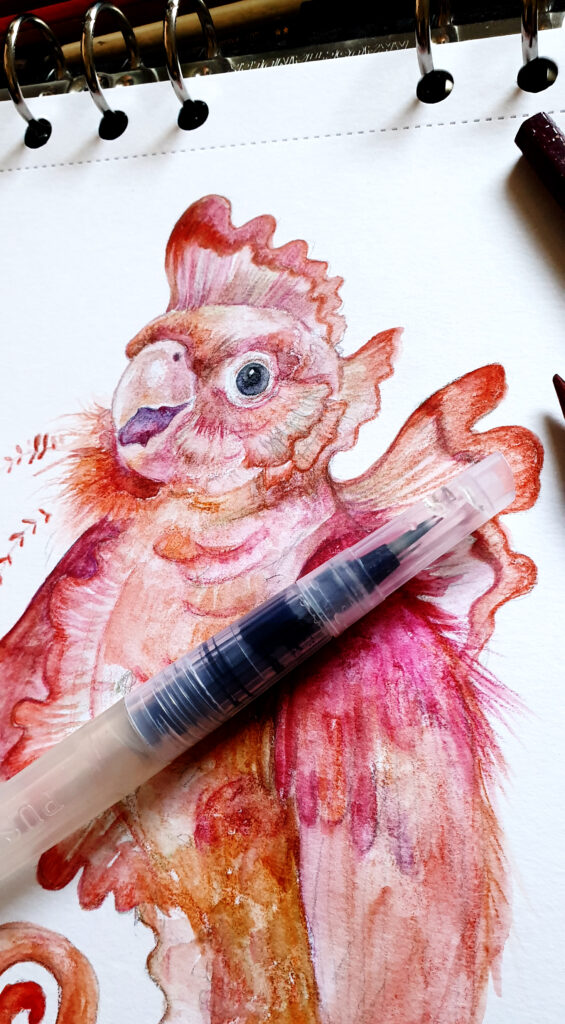
Now comes the fun part: adding water! I use a waterbrush for this. This is a pencil/brush filled with water. In this phase of painting I like to be messy and let happy accidents happen. The watercolor usually knows what to do (more than me). Don`t worry about making mistakes. The mistakes are usually the most beautiful part of illustration. The fun thing about watercolors is that you can never recreate a painting. It is almost impossible to not create something unique!

Step 4
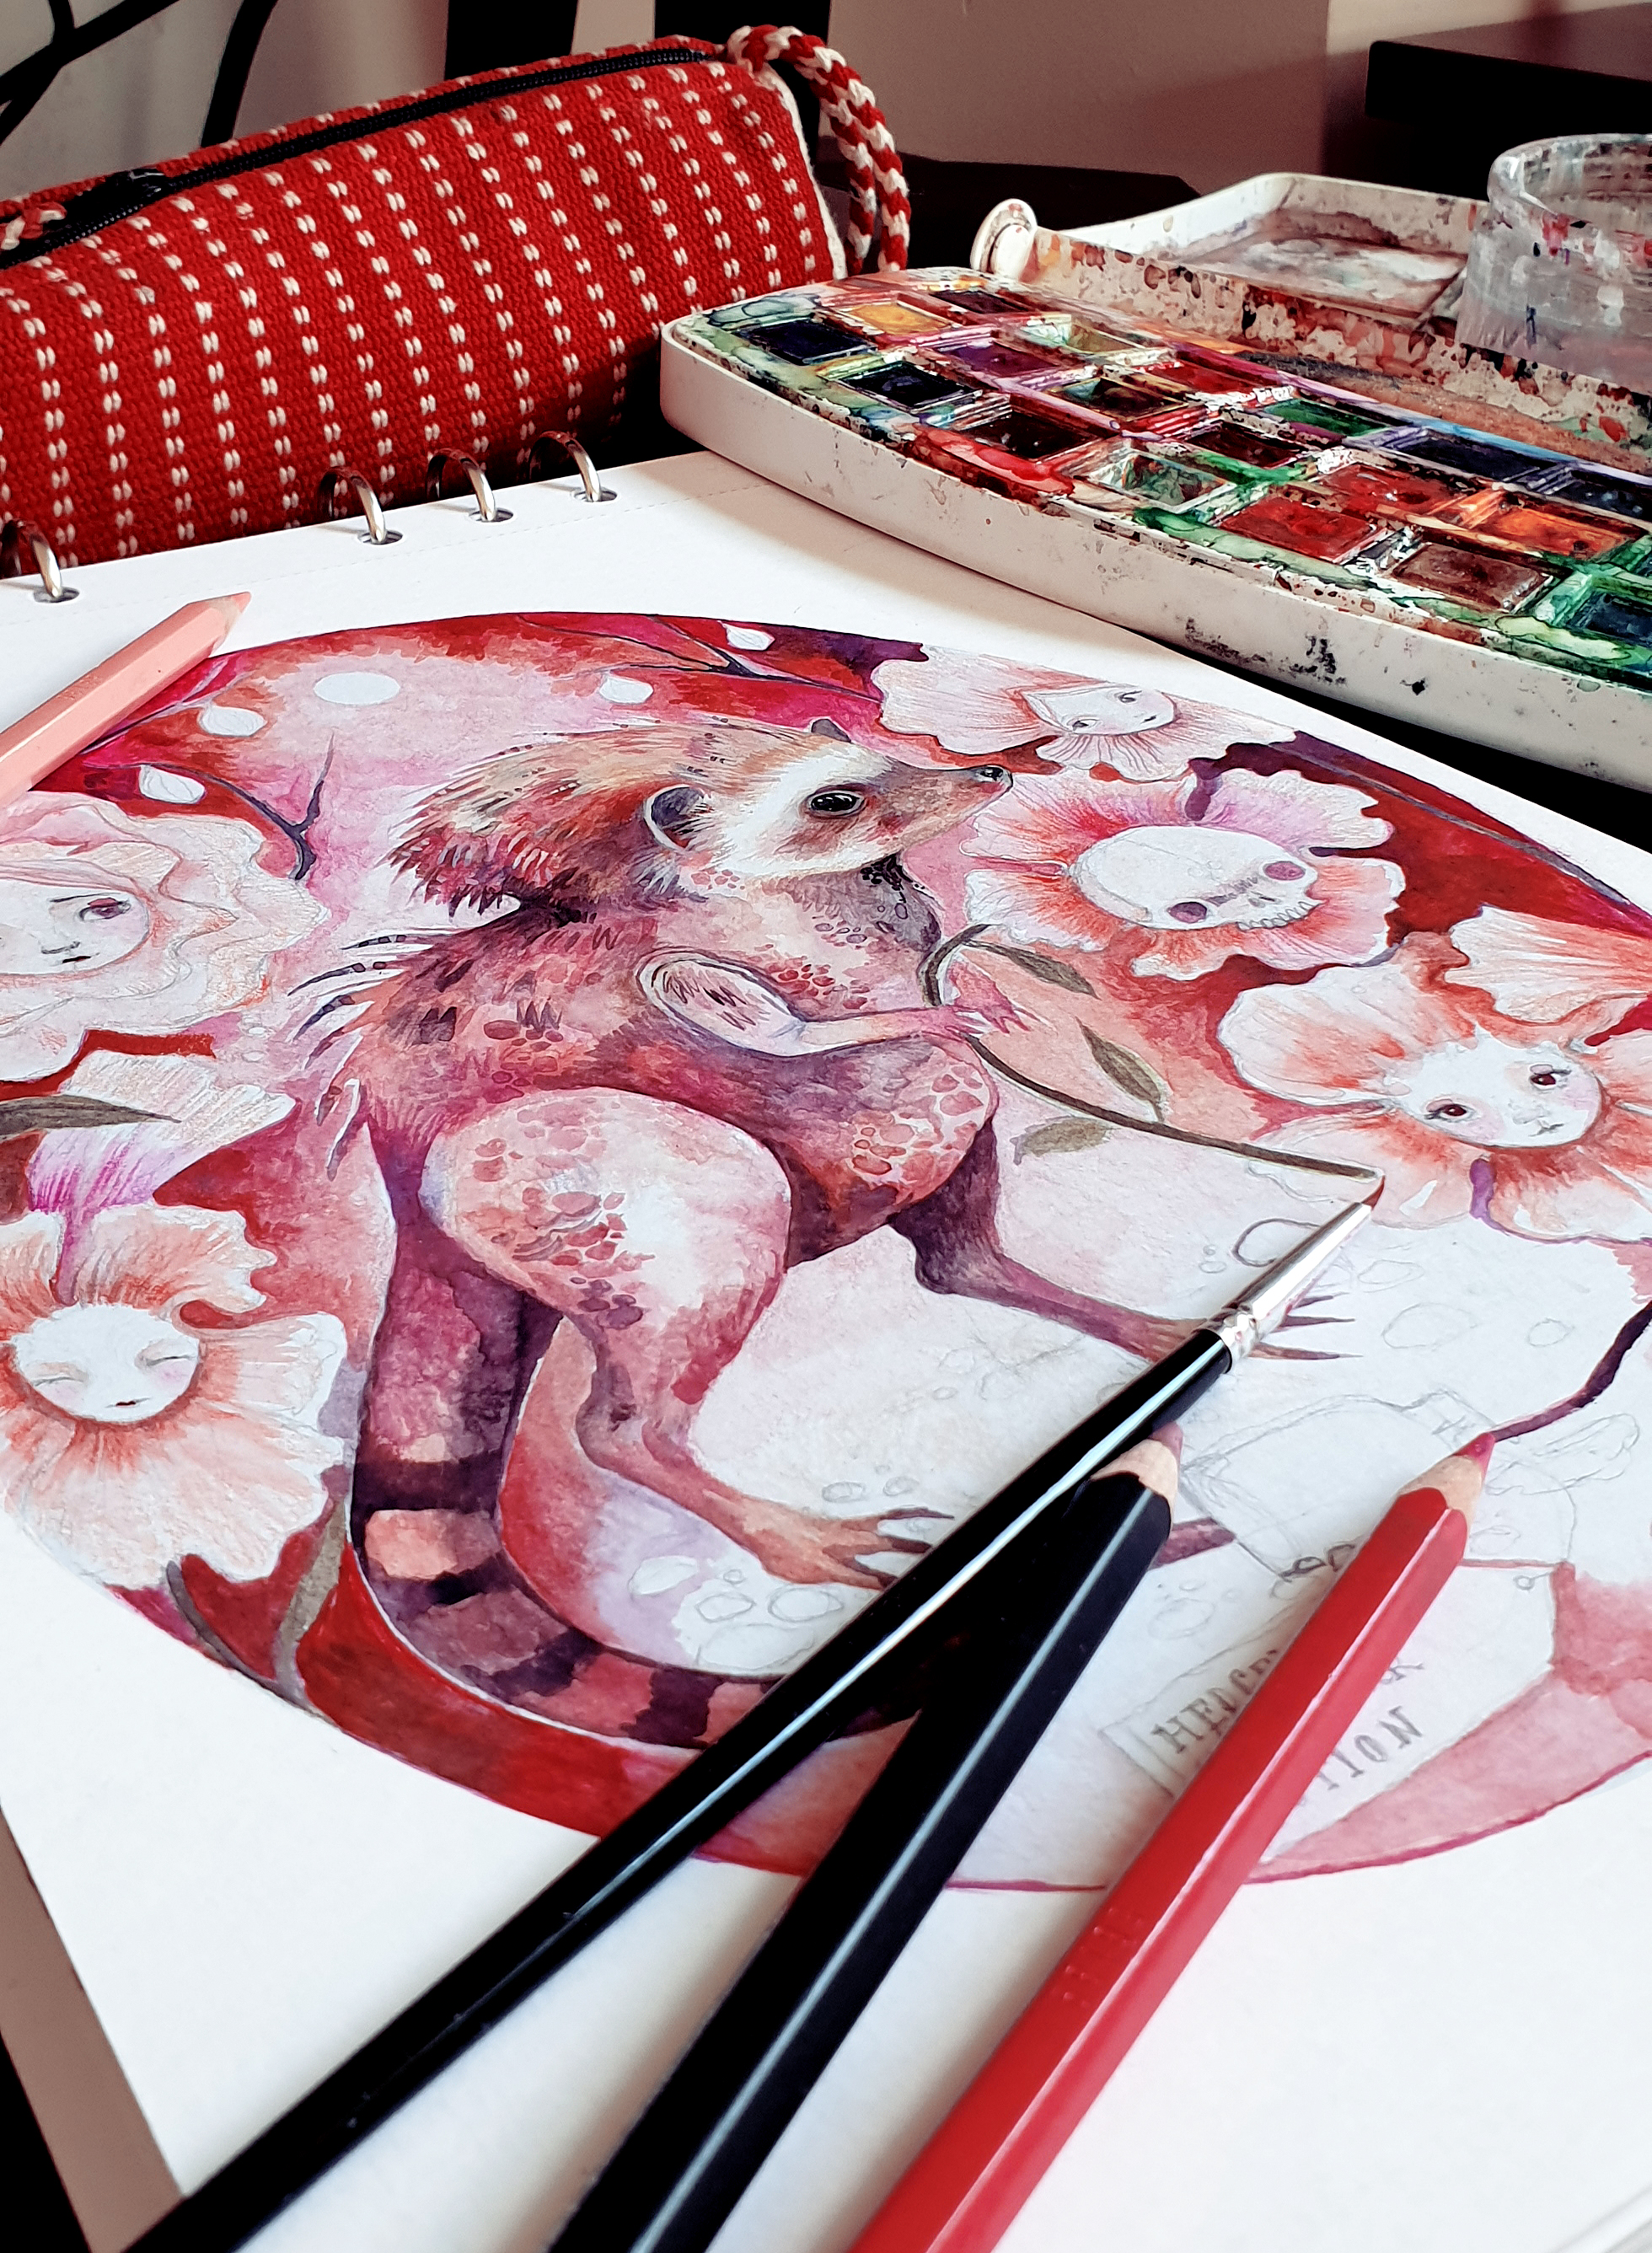
Now it’s time to get your real water paints out. In this stage you will add more color to your creature. My pallet is usually very dirty and this is how I like it. A messy pallet creates surprising colors. Don`t try to create the perfect painting. You are allowed to make mistakes. One of my most used colors is white waterpaint. With white waterpaint I like to make the colors softer and pastel. White waterpaint is also great for creating texture. It will not stay perfectly white and blend perfect with the color you put the white waterpaint on.
My favorite kind of waterpaint is van Gogh waters paint. I bought these at MisterPaint in Zandvoort (a great art store.) I actually have two watercolor pallets. One with pre-selected colors and one with where I selected my own. I used the preselected pallet for a while and then I figured out which colors I was missing and picked them myself.

Step 5
This is the last step. You can create great detail and texture with just waterpaint but sometimes this detail and texture is not enough for me. So, I add one extra layer of aquarelle pencil on top of the already dried watercolor layer. This also allows me to add more details such as thin lines, hairs and other fine detail. But make sure the paper is completely dry before doing so because aquarelle pencils are not a big fan of wet paper.
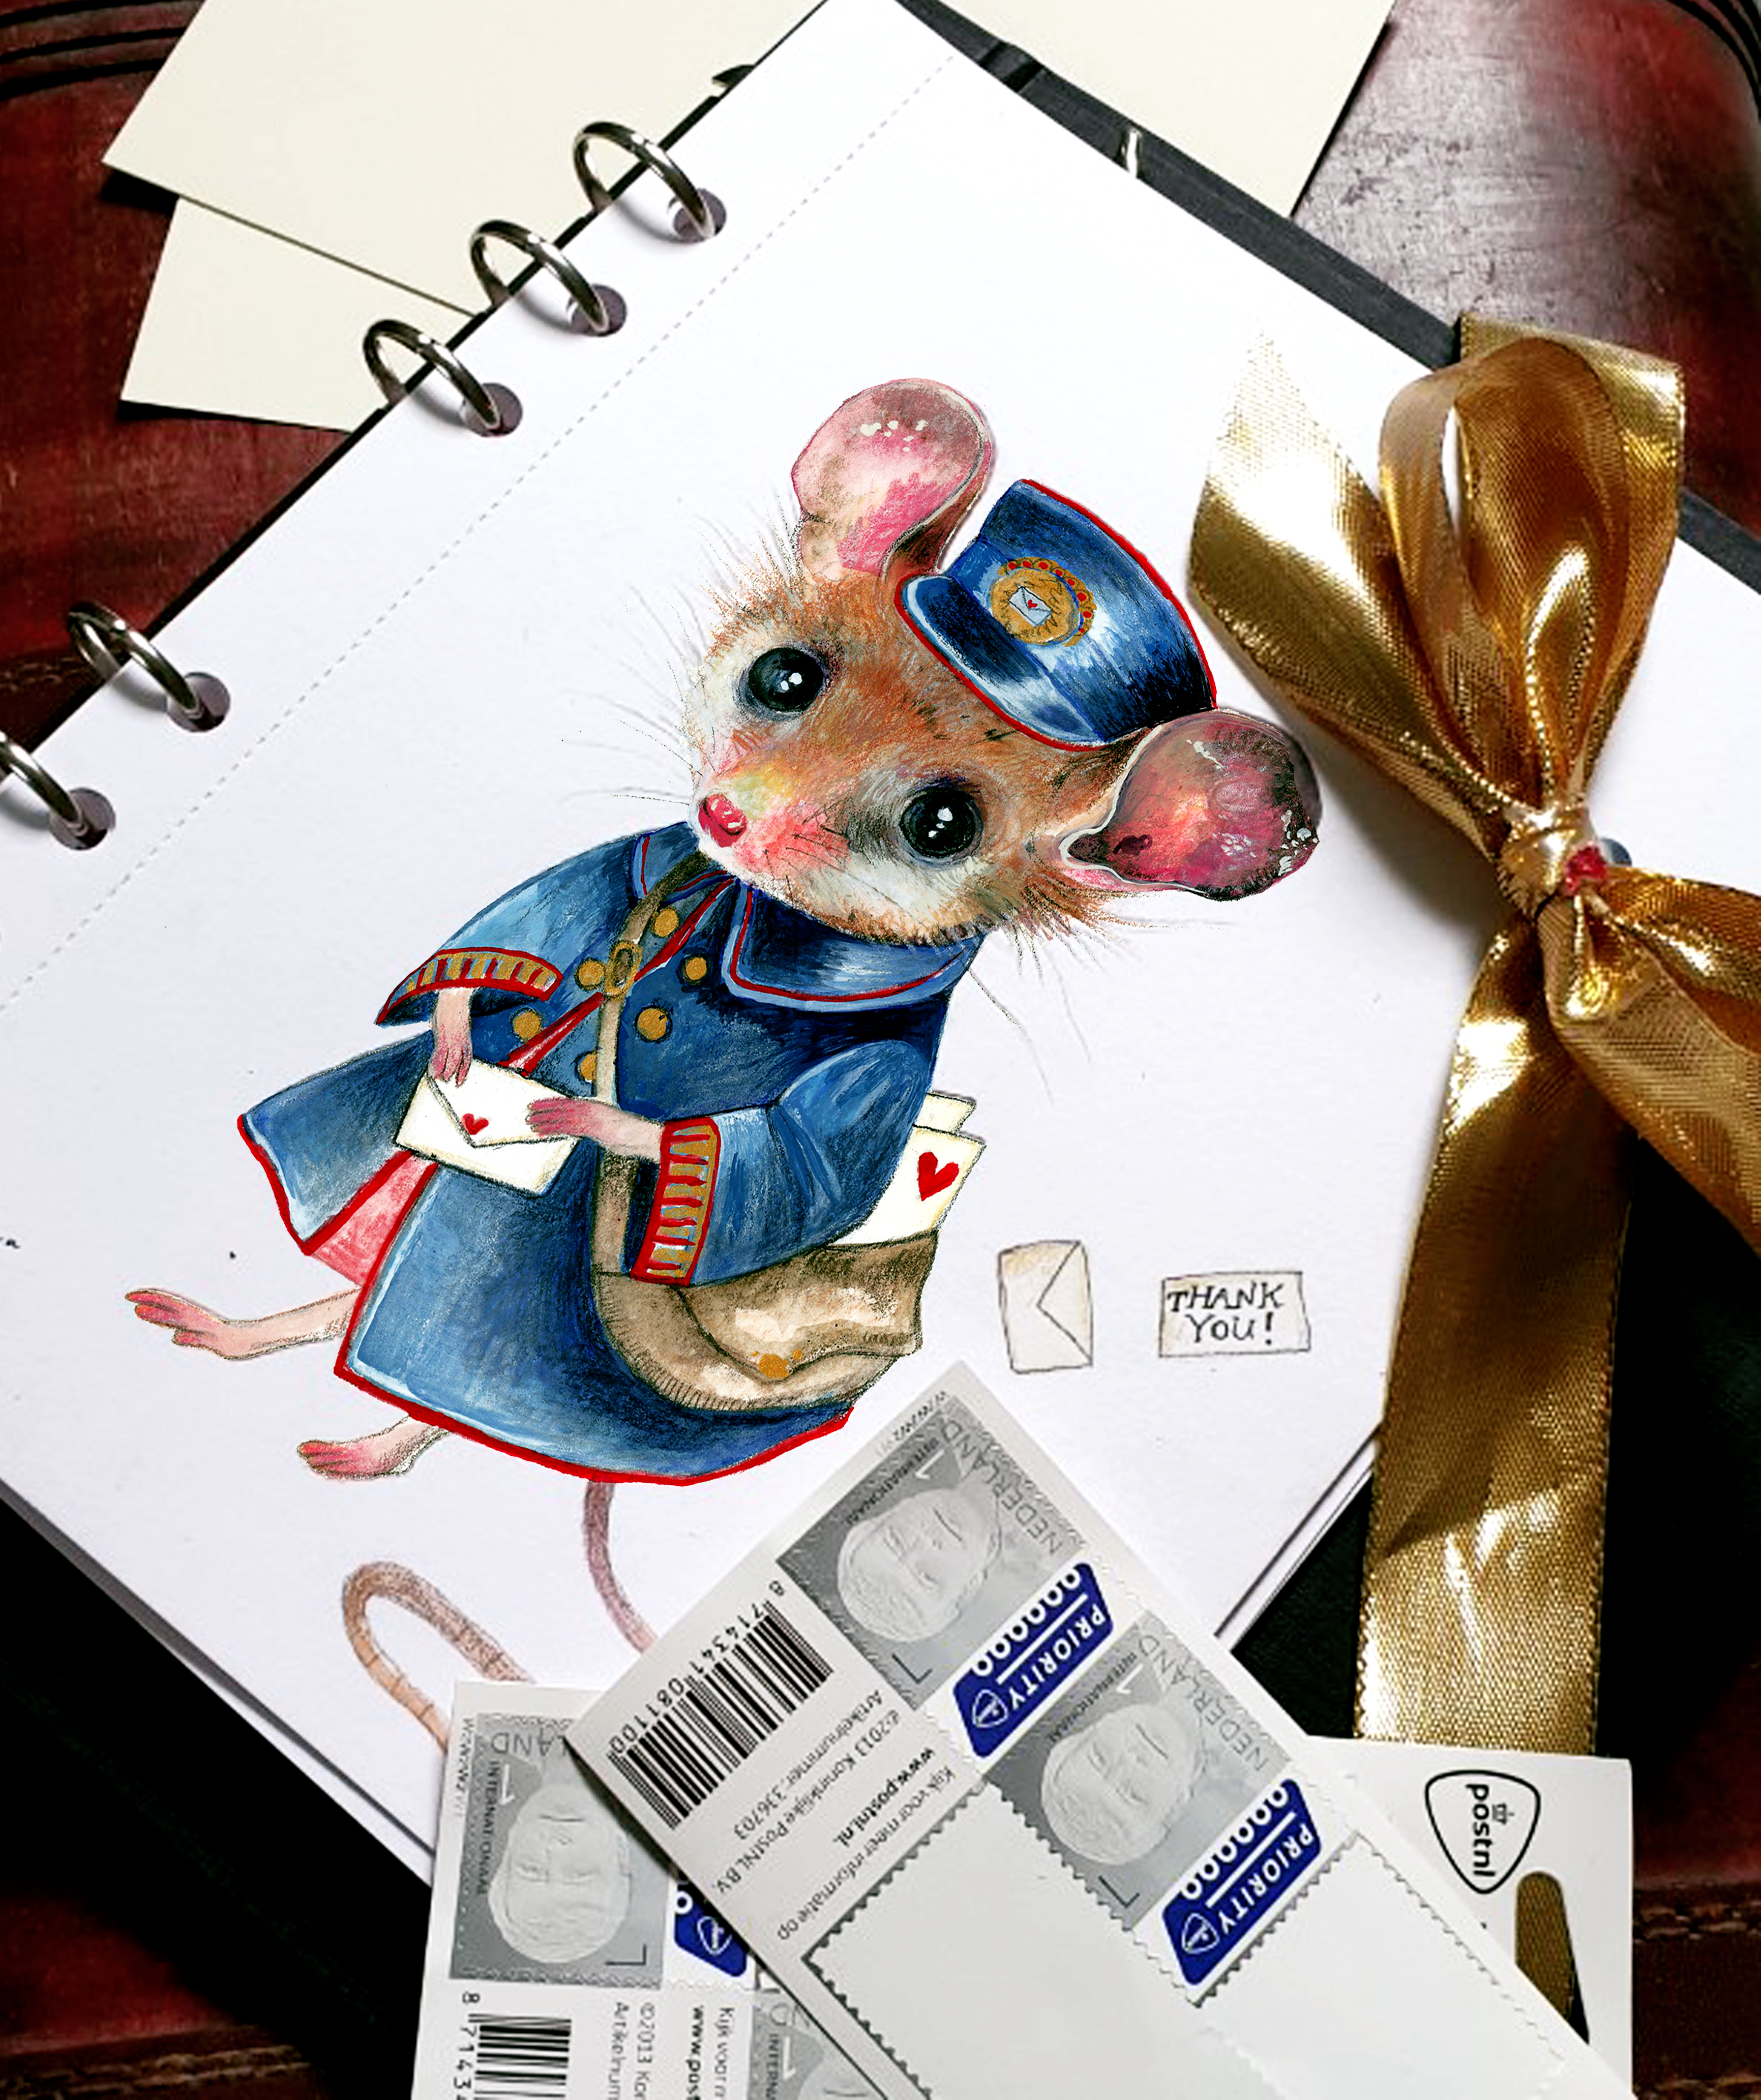
Your creature is complete! Now your creature is done. If you want to frame your finished piece you can take your drawing out of MyArtBook and cut the strip line of the end of the paper. Put it in a lovely frame and hang it on your wall. Beside MyArtBook being a wonderful sketchbook, you can also use MyArtBook to store your art and use it as a portfolio. That is why I like using two MyArtBooks.
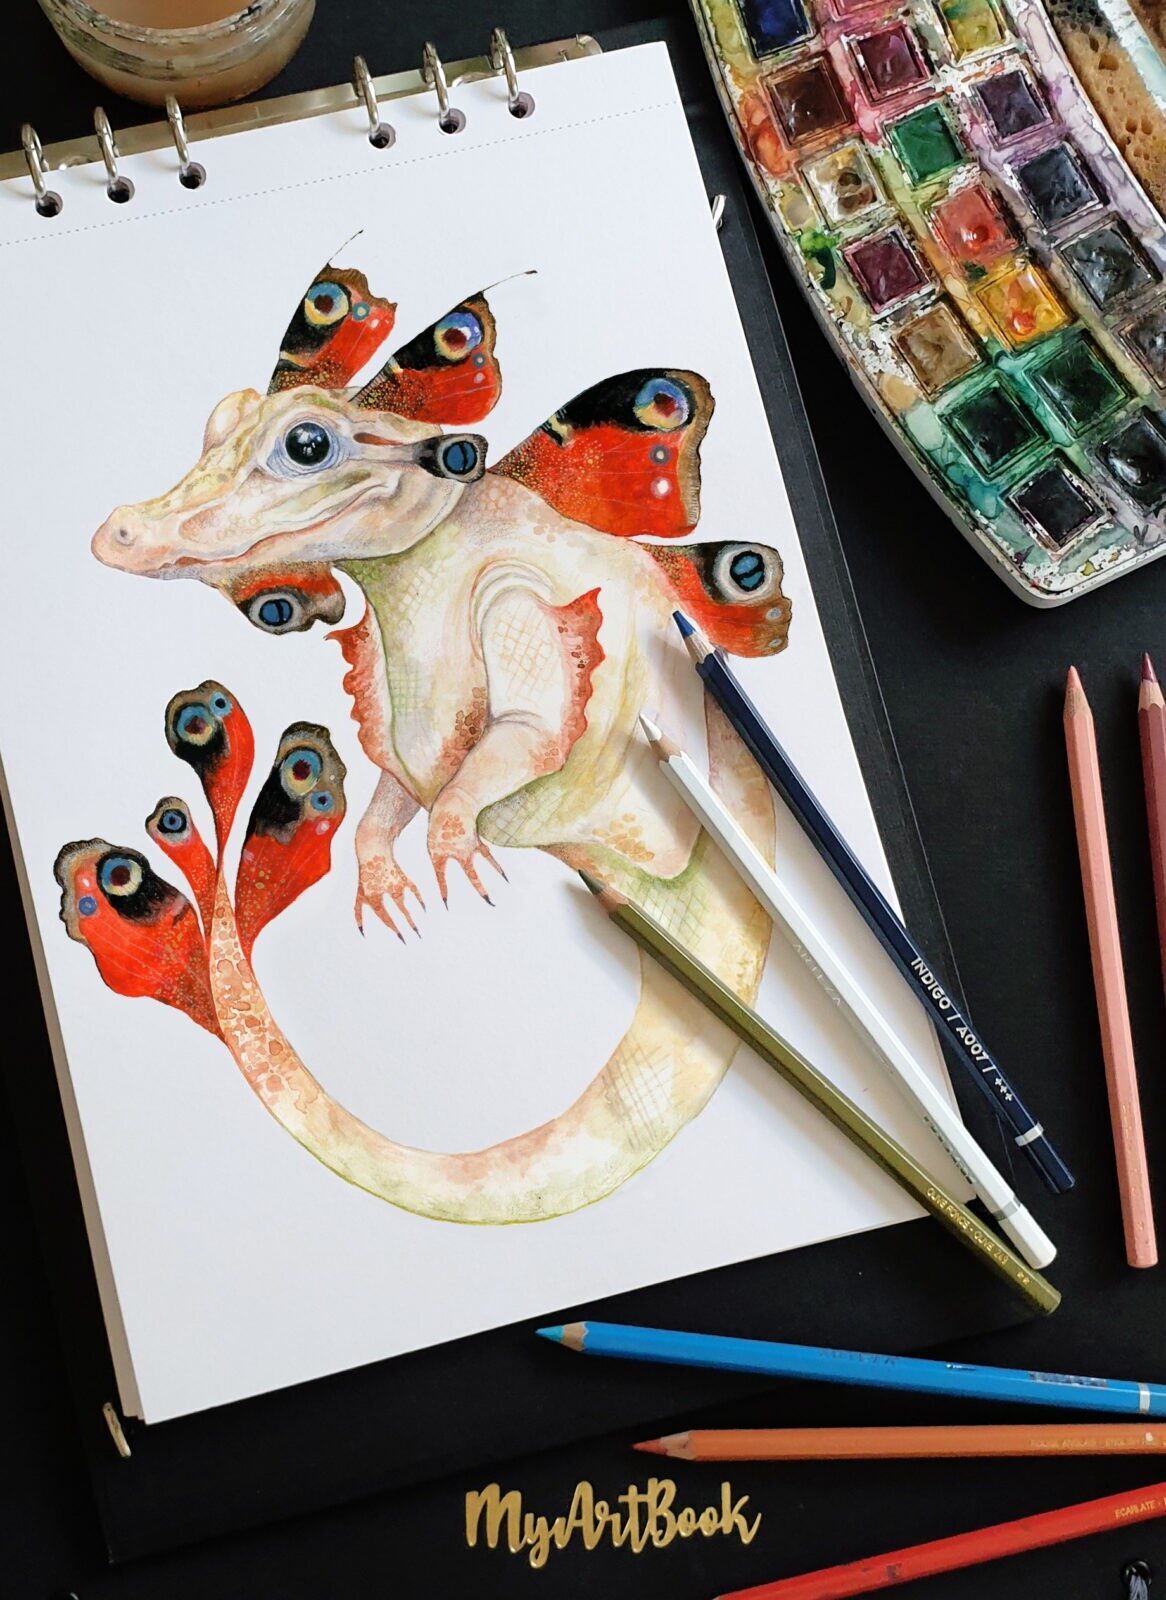
I hope this tutorial has been helpful and has inspired you to create your own wicked creatures. Tag me on Instagram (@evaboneva) to show me your creations I would absolutely adore to see what you have created. Here are some more monsters and creatures I have created in myartbook to inspire you some more.
Eva Toorenent (Evaboneva)